
Make a QR Code Check-In Form for a Work Event
By Anu Verma
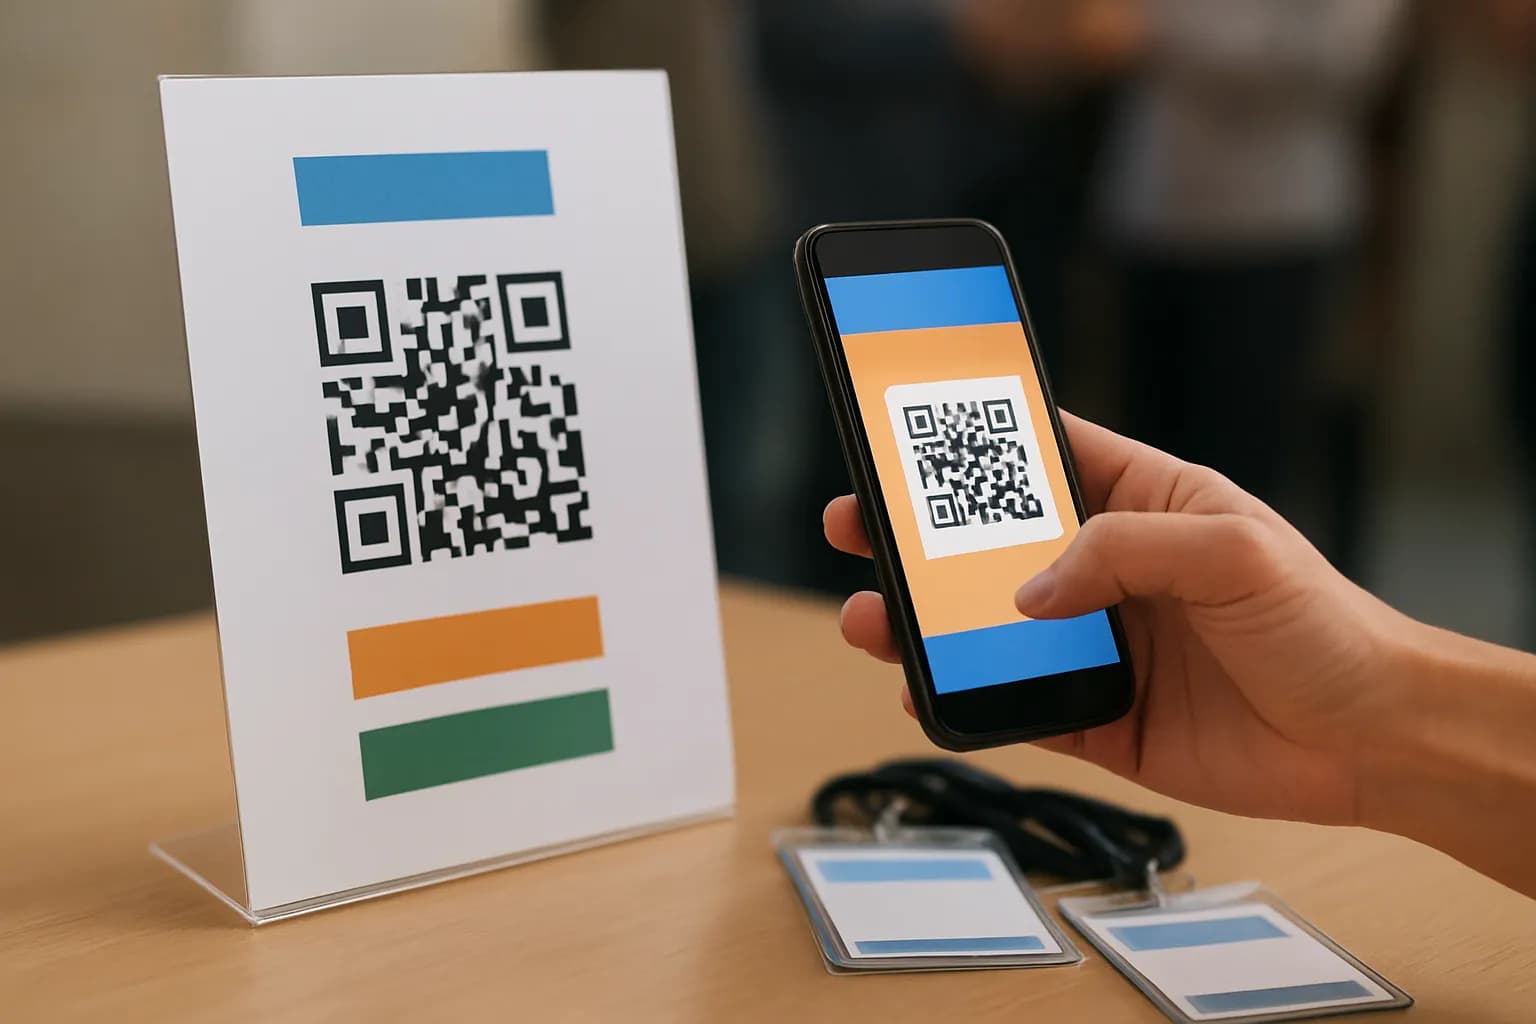
A QR code event check-in uses a short Google Form as the destination and a linked Google Sheet as the attendance record. Give each attendee a way to identify their response, then check the sheet for repeated identifiers before reporting a final count.
A QR code event check-in uses a short Google Form as the destination and a linked Google Sheet as the attendance record. Give each attendee a way to identify their response, then check the sheet for repeated identifiers before reporting a final count.
The attendance record you actually need
A QR code attendance form needs an event identifier and a way to tell whether the same attendee submitted it again. Decide what the final record must answer before building the form. If you only need a rough count of scans, you may not need to identify people at all. If you need to check who attended or spot repeat check-ins, use a consistent identifier.
For an internal event, a work email address may be practical if your organization permits its use for attendance. If names are unnecessary, a code assigned to each attendee can work instead. Keep the list connecting codes to people somewhere separate, and only if you need that connection. Do not ask for a phone number, job title, dietary preference or personal email merely because a form makes those questions easy to add.
Choose one identifier that people can enter reliably. A shared event code does not distinguish attendees, while a nickname may be spelled differently on a second scan. A timestamp records when a response reached the form, but it does not establish who submitted it. Write down what will count as attendance, such as a submitted response with a valid assigned code, so the person reviewing the sheet makes consistent decisions.
A short Google Form for event check-in
A Google Forms QR code event check-in works best when the form asks only for the identifier needed to recognize an attendee. Create a form for the event, give it a clear title, and add a required short-answer question for the work email or assigned code you chose. If people attend several sessions and you need separate attendance for each, make a separate form for each session or add a required session choice. Avoid an open text field when a fixed choice will prevent inconsistent answers.
Check the form settings before sharing it. If you plan to use an assigned code, turn off automatic email collection unless you also need email addresses. Consider whether restricting responses to your organization will block guests or attendees using personal phones. A setting that limits people to a single response can require sign-in, so it may not suit an open event or a shared-device check-in. Do not assume it replaces a review of the response sheet.
Submit a sample response yourself and check what the confirmation screen says. Keep the message brief and avoid implying that a submission proves attendance if staff must still validate codes. Use the form's responder link, which may appear under Publish or Send depending on the interface, rather than the link used to edit the form.
A QR code that opens the responder form
A static QR code should point directly to the form's responder link. Paste that link into a QR code tool that produces a static code, then save an image suitable for printing. A phone browser or a QR code maker may offer this function. Check whether a tool instead sends scans through its own redirect, especially if it asks you to create an account or advertises tracking. A direct destination is simpler when you do not need scan analytics.
Put the code on a sign where people naturally pause, with enough space around it for a phone camera to recognize it. Include a short instruction beside it, such as asking attendees to scan and submit before entering. Do not put an attendee code or other private detail on the public sign. If codes are assigned, give each person their own code through an appropriate channel or on an individual badge.
Print the sign and scan the printed code with a phone before the event. Confirm that the link opens the responder form, not the editing view, and that submitting produces a response. Keep the original responder link handy as a fallback if a camera cannot scan the print. Changing the form's questions usually does not require a new QR code, but changing its responder link or access settings can affect what attendees reach.
A check-in test from an attendee’s phone
A no-code event check-in needs an attendee-style test before anyone arrives. Scan the printed code with a phone that is not already signed in as the form owner. If the event includes guests, test with an account outside your organization or in a private browser window. Confirm that the form opens, accepts the intended identifier, submits successfully and shows an understandable confirmation.
Test a repeat submission using the same identifier. The aim is not necessarily to block it. Someone may scan again because they are unsure whether the first attempt worked, and a form setting may prevent repeats only by requiring sign-in. Record what happens so staff know whether the sheet could contain repeated responses. Also try a mistyped or blank identifier. A required question prevents a blank submission, but it cannot establish that an entered code belongs to the person holding the phone.
Plan a fallback for poor reception, dead batteries and attendees who cannot use the form. A staff member can keep a paper check-in record and enter or reconcile it after the rush. Keep that record separate until you have checked for overlap with form responses. At the entrance, watch for access problems rather than interpreting every failed scan as an attendee mistake.
Repeat check-ins in the Google response sheet
The response sheet can show repeated identifiers, but a repeated response is not automatically a second attendee. In Google Forms, open Responses and use the option to link responses to a Google Sheet. Check that new test submissions appear there. The timestamp helps you see when submissions arrived; the email address or assigned code is the field to compare for repeats.
For a small event, scan or filter the identifier column and compare matching entries. For a larger sheet, make a pivot table in a separate sheet: put the identifier in Rows and add that same field under Values with a count. Look at identifiers whose count exceeds a single submission, then return to the original responses to inspect them. Leave the raw response sheet intact. Deleting repeated rows before review can hide a genuine correction or erase the record of what happened.
An assigned code may be mistyped, and a typed email address may differ in spelling or case. Resolve uncertain matches against your permitted attendee list or ask the event lead, rather than silently merging them. Report the count of validated attendees, not the number of form submissions. If a paper fallback was used, compare it with the sheet before finalizing attendance.
When the simple check-in is enough
A form, a static QR code and a linked sheet are enough when staff can review attendance after the event. You do not need a separate automation service to collect submissions or spot likely repeats. Add more tools only when there is a specific follow-up job and someone is responsible for checking its results.
If each validated attendee needs an individual document, making a PDF from a Google Form response is a separate workflow to consider after you settle how repeats are handled. If event responses are meant to schedule appointments rather than record arrival, creating Google Calendar events from form responses addresses that different task. Neither workflow makes a QR scan proof that a person attended.
After the event, stop accepting responses if the check-in is closed. Restrict access to the form and sheet to people who need the records, and follow your workplace's rules for keeping or deleting attendance data. If you used assigned codes, consider whether the separate code list is still needed. Keep the validated count and any required attendance record, not extra personal details gathered just in case.
Sources consulted
- Google Forms Help (support.google.com)
- Google Sheets Help (support.google.com)
Frequently asked questions
Can a Google Form QR code check people in automatically?
A QR code opens the form; it does not submit a response or verify that someone attended. The attendee still has to enter the requested identifier and submit. Google Sheets can collect those responses for review. If attendance must be verified at the door, have a staff member check the submission or use a separate check-in procedure.
Do attendees need a Google account to use the check-in form?
Not necessarily. Access depends on the form's settings and any restrictions set by your organization. Limiting submissions to one per person can require sign-in, which may exclude guests. Test the responder link on a phone that is not signed in as the form owner before printing the QR code.
How do I find duplicate check-ins in Google Sheets?
Compare the same attendee identifier across responses, not just the timestamps. A pivot table can group identifiers and count their submissions, making repeats easier to review. Check the original rows before changing anything: a repeat may be a second scan, a corrected entry or a shared or mistyped code.
Can I make an attendance form without collecting names?
Yes. Give attendees individual codes and ask for the code instead of a name if that meets your event's needs. Keep any list connecting codes to people separate and accessible only to those who need it. If you do not need to identify attendees at all, a response count may be sufficient, but it cannot reliably detect repeat check-ins.
Related guides
 Send a Personalized Email After a Google Form SubmissionUse form answers in a custom confirmation email, then track each submission so an edited response does not trigger a duplicate.
 Create Google Calendar Events From Google Form ResponsesConnect Google Forms to Google Calendar with a no-code automation, then check missing times, time zones and repeat submissions before sending invites.
 Make a PDF Automatically From Each Google Form ResponseConnect Google Forms to a document template, fill blank answers safely, and save a PDF for each new response without code.
Drafted with AI assistance and checked automatically before publishing. Tools and prices change; check the official source before you act.